Zima Assembling your Raspberry Pi should be relativly easy. The Argon Case comes with a short and good instruction manual. So I don't think you need some extra instructions with that. Let's continue our quest!
Install Raspberry Pi OS on the Micro SD card
can you buy gabapentin online Did you bought your Raspberry Pi with a fast SATA M2 SSD drive? Then we first have to tell the Raspberry Pi 4 that it's ok to boot from USB. By default it will boot from SD card.
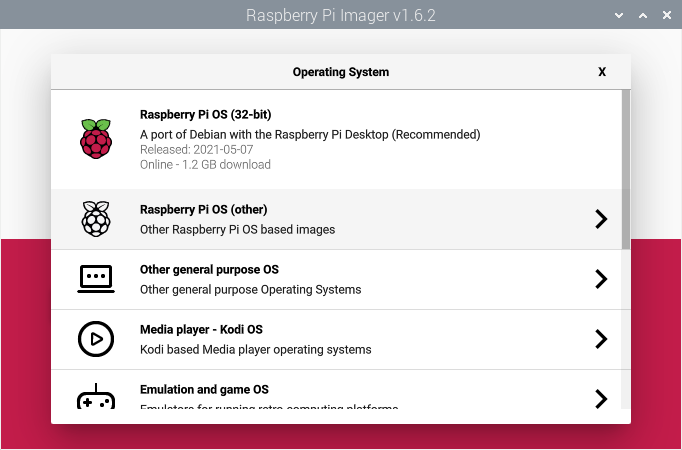
Download the PI Imager from the Raspberry website for your Windows, Linux or Apple system.
Insert your Micro SD card in your Windows/Linux/Apple system.
Start Raspberry Pi Imager.
Choose Raspberry Pi OS (32 bit) the desktop version.
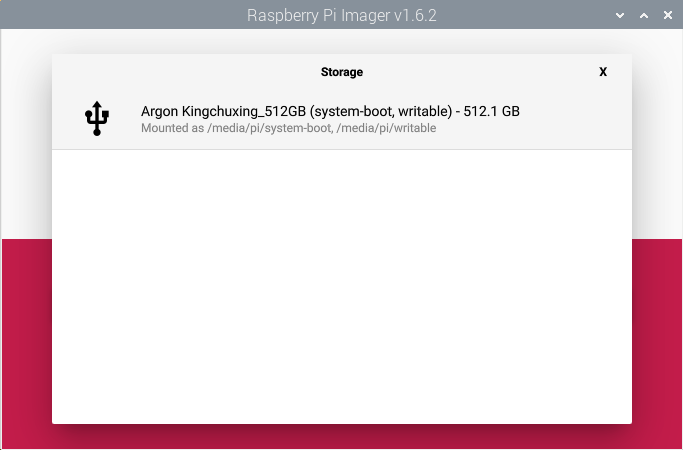
Select your Micro SD card.
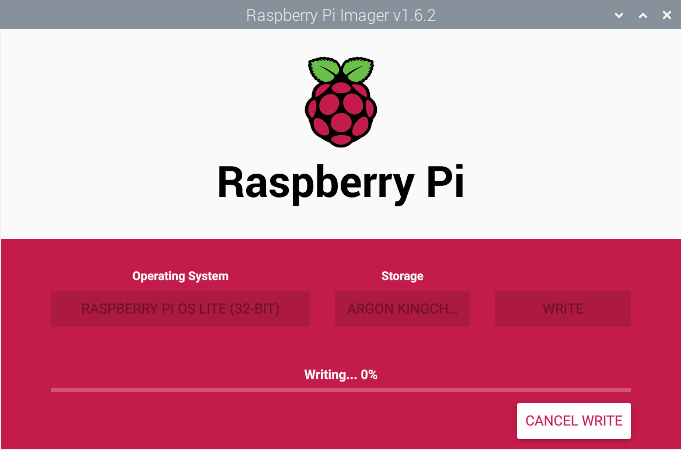
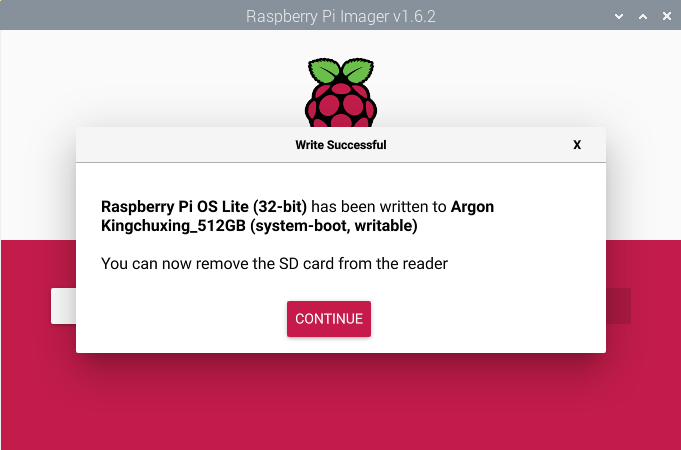
Write the OS to the SD Card by pressing the write button.
Place your SD card in the Raspberry, connect your cables (network cable will be handy, but you can choose to use the WiFi for now as well) and boot your Raspberry.
Now that your Raspberry is booted it's time to tell the Raspberry that the next time it must boot from SSD instead of the SD Card.
Make the Raspberry Pi boot from USB
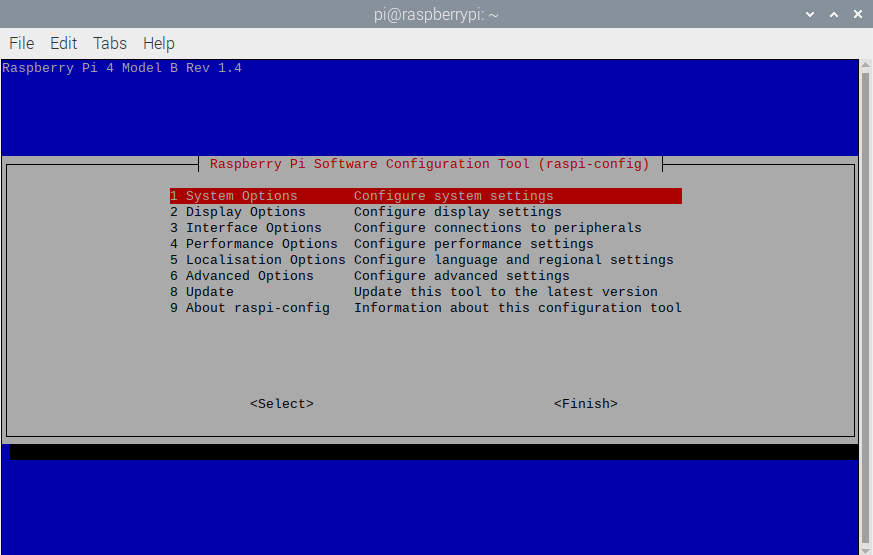
Start the terminal app (located next to the Raspberry Pi icon in the top left corner of your screen)
Start the Raspberry Pi Configurator raspi-config
pi@aalpi01:~ $ sudo raspi-config
- Choose 6 advanced options
- Choose a7 Bootloader version
- Choose E1 Latest
- Reset Boot ROM to defaults -> YES
- Press OK
- Choose 6 advanced options
- Choose a6 Boot Order
- Choose B2 USB
- Press OK twice and select finish to close the configurator
- Reboot the Raspberry
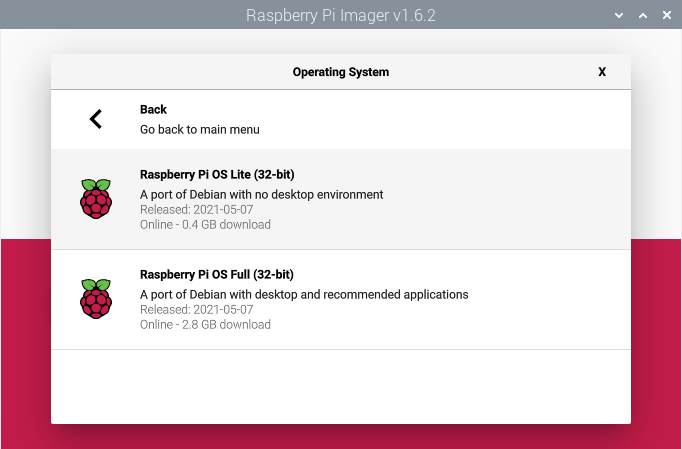
After the reboot we will transfer the right Raspberry OS to the SSD. We choose the small lite Raspberry Pi OS, which is a port from Linux Debian. Feel free to try other distro's as well. You can use the Ubuntu server OS image if you want a 64bit OS on your Raspberry. This manual is build on the Raspberry Lite OS.
First start the terminal app and install the Raspberry Pi Imager. When the installation is finished we start the Raspberry Pi Imager by running sudo rpi-imager
- Choose Raspberry Pi OS (Other)
- Choose Raspberry Pi OS Lite (32-bit)
- Choose Your SSD storage card
- Click on write
When the installation of the OS is finished shutdown the Raspberry, disconnect the power supply and remove the SD Card.
Now it's time to boot the raspberry for the first time from SSD and start configuring the OS.